The Homeowners Guide to Installing Your Own Solar Panels
Installing solar panels can reduce your carbon footprint and reduce your monthly utility bills. But, many homeowners are hesitant to switch to solar energy solely because of the steep costs of installing a new system. As of this year, it’s estimated that installing solar panels can cost between $14,000-$40,000 depending on the size of the system. This price includes the cost of the product itself in addition to the installation. Therefore, homeowners have the option of lowering the total cost of this project by handling the installation on their own.
Installing solar panels may seem like an intimidating project, but there’s no need to worry. Follow this DIY guide:
An Important Note on DIY Solar Panel Installation
There are many DIY projects that homeowners can complete entirely on their own, but solar panel installation is not one of them. Installing solar panels involves the use of electrical wiring, which is not safe to work with unless you are an experienced electrician. Furthermore, a number of states, including Florida, require homeowners to hire licensed technicians to install solar panels. For these reasons, it is best to let a professional handle the majority of the installation work. But, you can still cut costs by purchasing the equipment and mounting the panels on your own instead of hiring a professional to complete these tasks. Then, call an experienced professional when you’re ready to connect the system. This strategy will help you save as much money as possible while also ensuring you are not exposed to electrical hazards.
Purchasing Materials For DIY Installation
There are four main parts of a solar panel system that you will need to purchase prior to installation: the panels, batteries, controller, and power inverter. Start by choosing the right solar panels for your home. Thin-film solar panels are the least expensive, however they will wear down faster than other options, so they’re not the best choice for homeowners who want their system to last as long as possible. Polycrystalline are budget-friendly as well, but they aren’t ideal for homes that are located in hot climates. If the temperature regularly climbs above 80 degrees Fahrenheit in your area, it’s best to choose monocrystalline solar panels.
If you own a small home, it’s best to go with amorphous solar panels, which are designed to provide power to small-sized spaces. Although these are more expensive than thin-film solar panels, they are far more efficient, which makes them the better choice.
Next, select the right batteries. There are two main battery choices: lithium-ion and lead-acid. The former is more expensive, but more durable as well. If you don’t want to worry about replacing the batteries on a regular basis, choose lithium-ion instead of lead-acid.
The next step is purchasing a power inverter for your solar panel system. Central inverters have been around the longest and are known for their durability, which makes them ideal for homes that are regularly exposed to extreme temperatures and harsh environmental conditions. A string inverter is a slightly less expensive option. This inverter links a group of panels together so they operate as one single unit. Although string inverters are less expensive, they are typically only used on homes with flat roofs.
If you have a little extra room in your budget, consider purchasing microinverters. This type of inverter lasts the longest, but they are also the most expensive. However, a microinverter will continue to provide power to your home even if one panel is broken, which gives it a competitive edge over the other inverter options.
Finally, purchase a controller that is compatible with the rest of the materials you have selected. Now, you have successfully completed the first step in the DIY installation!
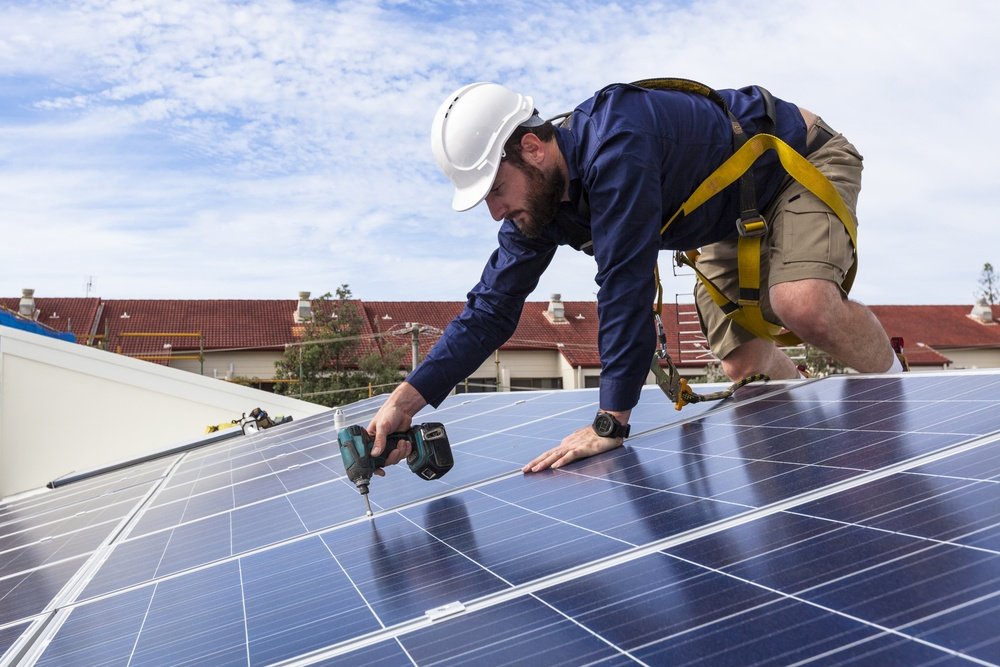
Mounting the Solar Panels On Your Roof
There are two ways to mount solar panels on the roof of your home. Homeowners have the option of mechanically attaching solar panels, which means the panels will attach tightly to the roof. Using this method, the panels are attached directly to the roofing material, so they will lie flat against the roof. If your solar panels must withstand high winds or hurricanes, this is the right mounting option for you.
The second option is a ballasted mount, which involves attaching the solar panels to concrete blocks before placing them on your roof. There are several benefits to this option. First, there’s no need to puncture or penetrate your roofing materials with this option since the mount simply sits on top of your roof. Second, solar panels with this type of mount can be placed at an angle, so they can be positioned to absorb as much direct sunlight as possible. But, this option is not ideal for people who live in windy areas. Ballasted mounts cannot withstand high winds, so they could blow completely off of the roof when exposed to powerful winds.
Contacting A Professional to Connect the System
By now, you have purchased all of the materials you need to install a solar panel system and mounted the panels on top of your roof. The next step is contacting a professional to help you connect the system and finish the installation.
According to the U.S. National Renewable Energy Laboratory, large national companies typically charge more for their installation services than smaller, local companies. For this reason, it’s best to find a local solar installer company. Make sure the company is licensed to perform this work, and ask them for references prior to signing a contract. You should also choose a company that offers a warranty so if something goes wrong with the installation, you are covered.
Follow these simple steps and you will get to enjoy the many benefits of living in a home with solar panels!
